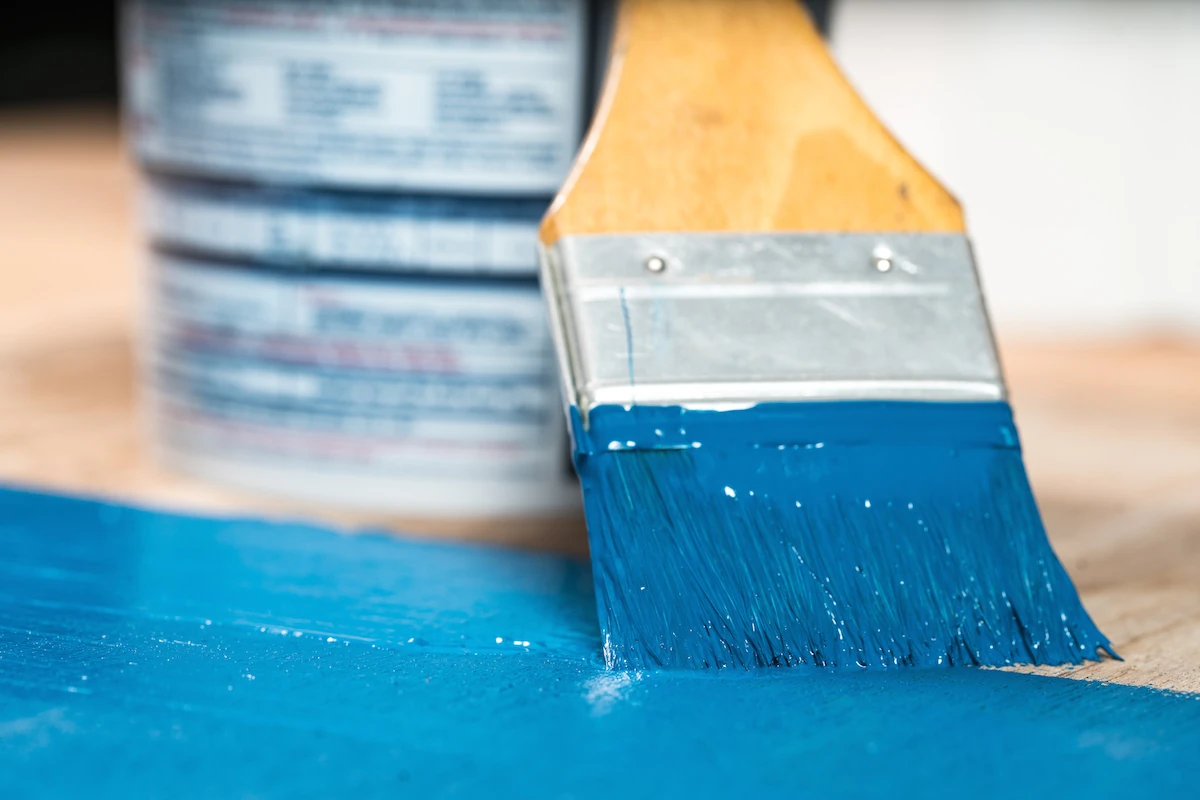
When it comes to interior and exterior house painting projects, skill is definitely important. Watching an experienced pro cut a flawless line or efficiently transform a space is mesmerizing, especially if painting is a real passion of yours. Using the right products is crucial too, matching the ideal paint to your surface for your property’s needs and use.
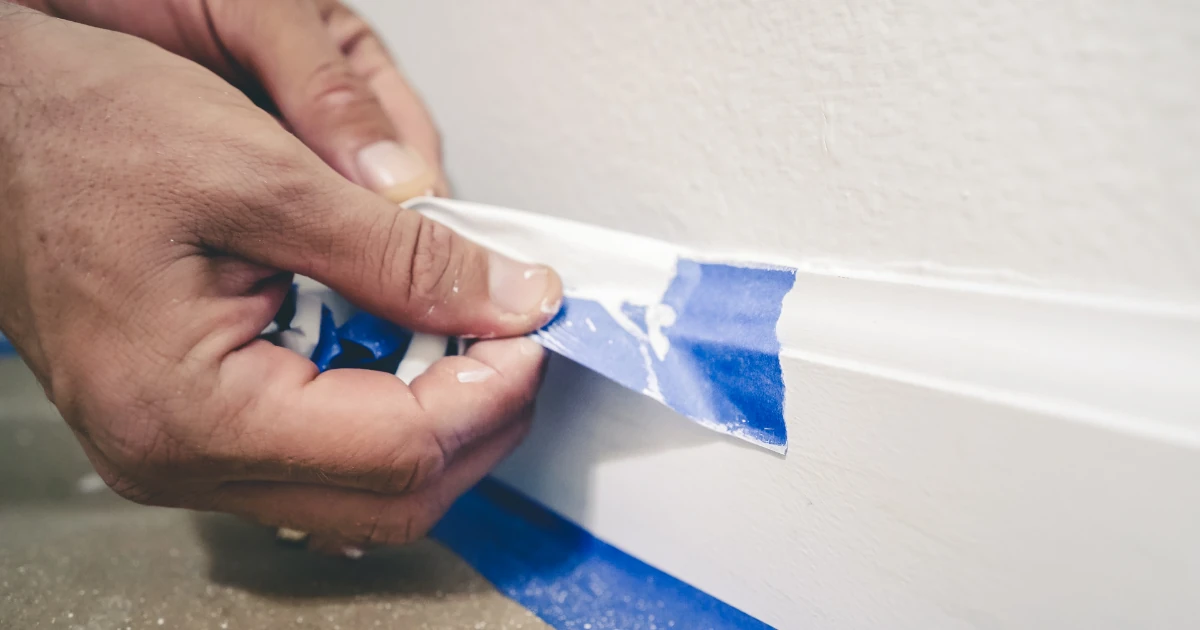
Right up there with employing the right skill and products, however, is another necessity: working neatly. Little investments of time in proper prep and working procedures will pay a big dividend at the end of your project.
Work Faster and Neater with These Basic Painting Tips
#1 Take the Time to Prep the Space!
Covering furniture, removing outlet covers and fixtures, and protecting any elements that can’t be moved is a necessity. No matter how careful you are, this kind of preventative care is priceless. And, by doing it all at once early on, you can work that much faster once you get rolling.
#2 Use a Paint Can Coaster
A simple paper plate under your paint can can save you from extremely frustrating drips and dribbles. Nothing puts a damper on your afternoon like forgetfully putting the can down on an end table and leaving a ring of off-white…
#3 A New Place to Wipe Off Excess Paint
Brushing the excess off your bristles is standard procedure after you load paint on your brush. Rather than wipe the excess off on the rim, however, try stretching a rubber band around your can from top to bottom so that it reaches over the opening. This way you can wipe the excess off directly over the paint, and not around the rim where it will gum up the works or dribble down the side.
# 4 Painting Overhead? Make a Brush Shield!
Not overloading your brush can definitely protect you from unwanted drips, but you can take it even further with a simple, homemade device. Find a small plastic lid (maybe from a medium-sized coffee can) and cut a slot in the middle. Slide the handle of your paintbrush through this opening and, just like that, you’ve created a drip shield.
#5 Making a Tiny Touch-Up? Use a Toothpick!
Little scratches that just don’t warrant a full brush stroke can be touched up easily, and with pinpoint accuracy, by using a toothpick. Dip the tip, then very gently fill the scratch.
Small, clever steps can lead to a big improvement in your painting experience; we hope these DIY tips and ideas help you love your next project that much more. Happy painting!


