Hairline cracks along door casing, a dark seam where crown moulding meets the ceiling, or a gap that reappears every winter above a baseboard may look like paint failure. Often, they point to failed caulk, movement between materials, or a joint that was never sealed properly.
Caulking before painting is part of surface preparation. Applied in the right places with the right product, it creates clean trim lines, reduces air leakage, and helps protect vulnerable joints from moisture. Applied where water is supposed to drain, however, it can trap moisture and cause the damage it was meant to prevent.
Here is where caulk belongs, where it does not, and what to check before the first finish coat goes on.
What Caulk Actually Does
Caulk, also called sealant in many applications, fills the joint between two materials. Wood, drywall, plaster, masonry, metal, and manufactured cladding all respond differently to changes in temperature, humidity, and seasonal movement. A flexible sealant allows the joint to move without immediately cracking.
That is why caulk is not the same as spackle or joint compound. Spackle and joint compound are used to repair surface damage such as nail holes, dents, gouges, and drywall imperfections. Caulk is used where two surfaces meet and may move independently. The Department of Energy explains that caulk is generally used around stationary components such as door and window frames, while weatherstripping is intended for moving components.
Caulk also improves the appearance of a finished paint job. A thin, properly tooled bead creates a clean transition between the wall and trim, allowing the painter to produce a straight, continuous cut line.
Where Caulking Before Painting Matters Most
Interior Trim-to-Wall Joints
Casing, baseboards, crown moulding, chair rails, panel moulding, and built-ins often have visible gaps where they meet drywall or plaster. A small bead of paintable caulk can close those gaps and make the trim appear integrated with the wall.
The joint should be stable before it is caulked. If the trim is loose or the gap continues to widen, it may need to be refastened or repaired first.
Mitered Corners and Trim Joints
Mitered corners and butt joints can develop small gaps as the wood expands, contracts, or shifts. Caulk can close minor cosmetic gaps, but it cannot compensate for loose trim, poorly fitted joints, or significant movement.
Larger gaps may require carpentry, a backer material, or a different sealant. The size and depth of the joint should always be considered before selecting a product.
Exterior Trim-to-Siding Joints
Exterior trim, corner boards, frieze boards, water tables, and other transition points can allow wind-driven rain into the wall assembly when their seals fail. These joints often need an exterior-rated sealant that can withstand ultraviolet exposure, temperature changes, and repeated movement.
The important qualification is that exterior siding systems are designed to manage water. Seal trim joints where the installation system calls for it, but do not seal over siding laps, openings, or drainage paths that are intended to remain open. Follow the specific installation guidance for the siding material.
Window and Door Perimeters
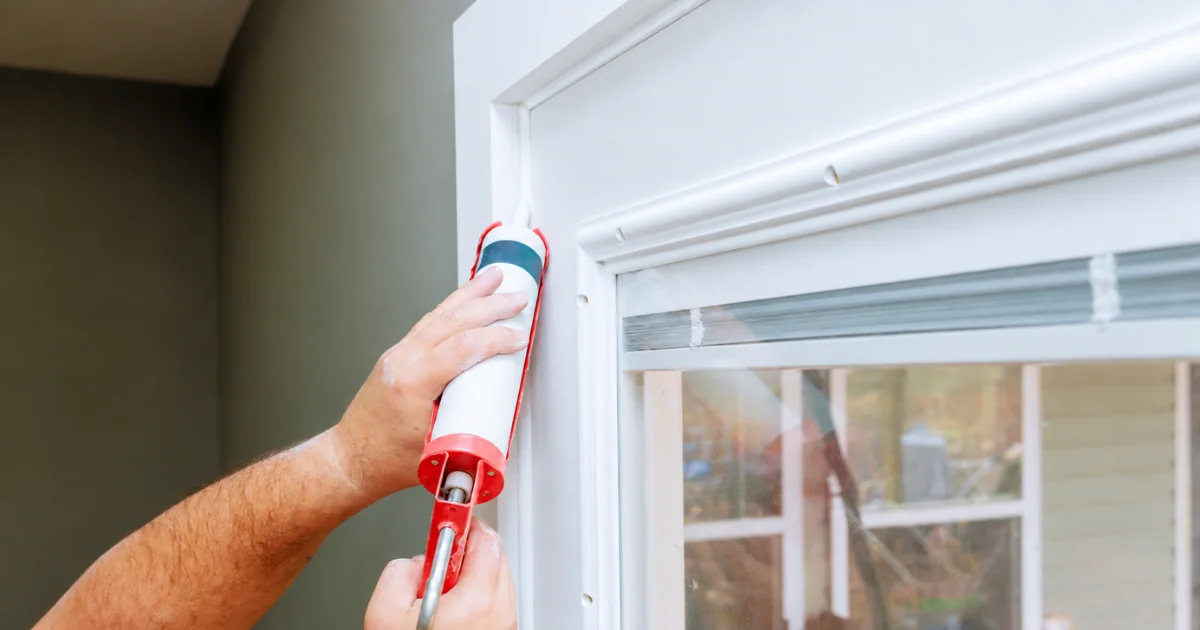
Exterior window and door assemblies require careful attention because they combine trim, flashing, siding, framing, and drainage. Many installation details seal the sides and top while leaving the sill or lower drainage path open.
Andersen’s window-installation guidance specifically warns against sealing along the sill or blocking drainage holes. The correct detail depends on the window, door, flashing, and cladding system, so visible casing caulk should not be treated as a substitute for proper installation or flashing.
Indoors, the joint between the casing and the wall is generally treated like any other interior trim-to-wall joint.
Exterior Wall Penetrations
Light fixtures, hose bibs, dryer vents, electrical conduit, pipes, and mounting blocks all interrupt the exterior wall surface. Their perimeters should be sealed with a compatible exterior product, provided the penetration does not include a designed vent or drainage opening.
The Department of Energy identifies exterior wall penetrations around pipes, vents, electrical fixtures, and wires as common air-leak locations. Sealing them can improve comfort and reduce uncontrolled air movement.
Joints Between Different Materials
Wood meeting masonry, stucco, concrete, metal, or composite materials creates a joint with different rates of expansion and contraction. These locations may require an elastomeric, hybrid, or polyurethane sealant rather than standard painter’s caulk.
The product must be compatible with both surfaces and rated for the amount of movement and exposure the joint will experience.
Where Caulk Does Not Belong
Drainage Paths
Exterior walls are designed with layers that manage water. Siding, flashing, window components, and other cladding systems may allow incidental moisture to drain or escape.
Do not seal a siding lap, the underside of a sill, a drip edge, or another opening that is intended to release water unless the manufacturer specifically requires it. Blocking those paths can trap moisture against sheathing or framing and contribute to rot.
This is especially important around windows. Andersen’s installation guidance states that drainage holes must not be sealed or blocked.
Weep Holes
Vinyl and aluminum windows, storm windows, masonry walls, and some exterior cladding systems include weep holes. These small openings allow water to drain from the assembly.
They may look unfinished, but they serve a purpose. Paint and caulk should never cover them.
Damage That Requires Repair
Caulk is not a repair for rotted wood, loose trim, failed glazing, cracked window components, or defective flashing. It may hide the problem temporarily, but the damage will continue underneath the sealant.
Rot should be removed and replaced. Loose trim should be refastened. Failed glazing should be reglazed, and flashing problems should be corrected before painting.
A.G. Williams Painting Company makes the same distinction in its exterior painting guidance: painting over failed wood only hides the problem.
Failed Caulk
New caulk should not be applied over an old, cracked, hardened bead. The new sealant may bond to the old material instead of bonding to the building surfaces, causing the failure to return.
Old caulk should be cut out, removed, and replaced with a compatible product after the joint has been cleaned.
The Baseboard-to-Floor Joint
Do not automatically seal the joint between baseboard and hard flooring. Hardwood and other flooring materials may need room to expand, and shoe moulding or quarter round often covers the movement joint.
The correct treatment depends on the flooring material and the trim detail. Caulk should not be used to conceal a flooring installation problem or restrict necessary movement.
Choosing the Right Product
For most interior trim work, acrylic latex or siliconized acrylic latex caulk is a practical choice. These products are generally paintable, easy to tool, and simple to clean up. They are suitable for many joints around baseboards, casing, crown moulding, and built-ins.
Higher-movement or exterior joints may require an elastomeric, hybrid, or polyurethane sealant. Products such as DAP Dynaflex 230 are designed for applications involving windows, doors, siding, and trim, with greater flexibility and weather resistance than basic interior caulk.
Pure 100 percent silicone is generally not paintable. GE Sealants explains that paint will not adhere properly to 100 percent silicone. If a joint must be painted, use a product specifically labeled paintable or remove the existing silicone and replace it with a compatible paintable sealant.
Some products marketed as “paintable silicone” are hybrids or modified formulas. Always check the product label rather than relying on the word silicone alone.
How a Joint Should Be Prepared
Preparation determines whether the bead lasts for years or begins failing after one season.
First, remove old failed sealant, loose paint, dust, chalk, grease, and debris. The surfaces should be clean and dry before the new product is applied. Bare or porous exterior wood may need primer if required by the sealant or paint manufacturer.
Wide or deep joints may require backer rod before sealant is applied. As a general reference, Sashco recommends backer rod for joints at least 1/4 inch wide and 1/2 inch deep. Backer rod reduces the amount of sealant needed and helps create a joint that can stretch properly.
The bead should make contact with both sides of the joint without bonding unnecessarily to the back. Apply enough material to fill the joint, then tool it immediately while it is still workable. Remove excess before the sealant skins over.
A smooth, properly sized bead nearly disappears after painting. A heavy, rounded bead remains visible no matter how many coats of paint are applied.
When Should Caulk Be Applied?
Caulk is usually applied during preparation, after repairs and priming but before the finish coats. This allows the paint to span the sealed joint as one continuous surface.
Some products are paint-ready within 30 minutes to two hours, while others require considerably longer. The DAP caulk and sealant guidance notes that dry time depends on the product, temperature, humidity, and bead thickness.
Paint-ready does not always mean fully cured. Follow the manufacturer’s instructions and allow additional time in cold, humid, or poorly ventilated conditions.
Plan Caulking as Part of Surface Preparation
Caulking before painting works best when each joint is evaluated for movement, exposure, drainage, and repair needs before a product is chosen. Seal stable joints that should remain closed, preserve intentional drainage paths, remove failed material, and follow the sealant manufacturer’s preparation and cure-time instructions.
For help preparing interior or exterior surfaces for a durable finish, explore A.G. Williams Painting Company’s interior painting services and exterior painting services, or request a proposal.