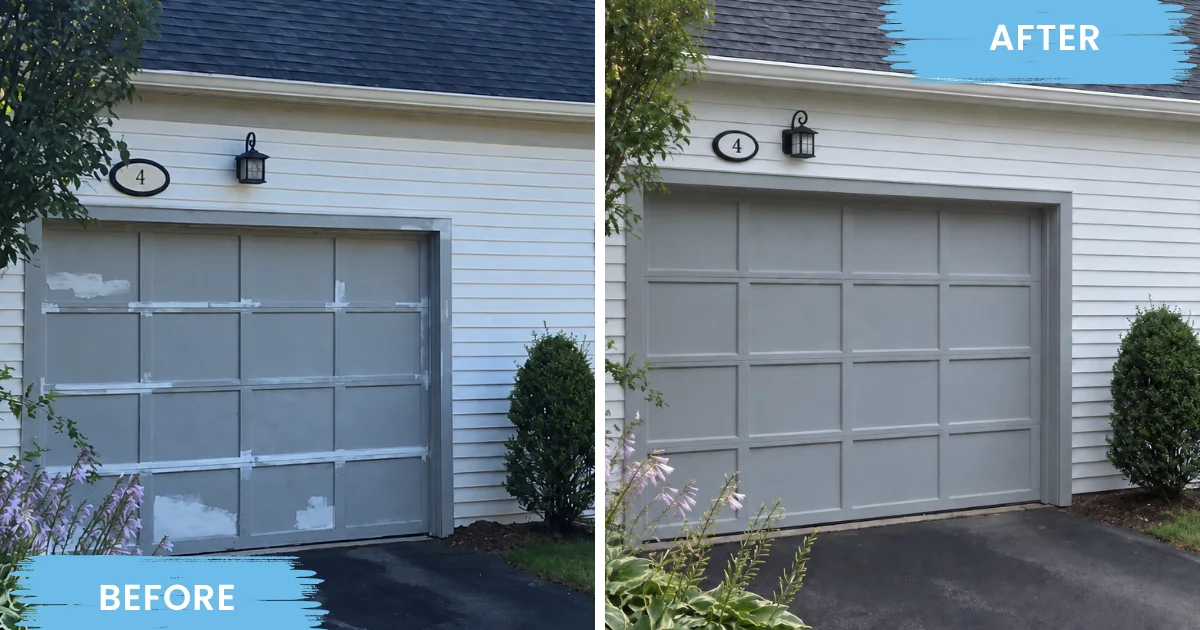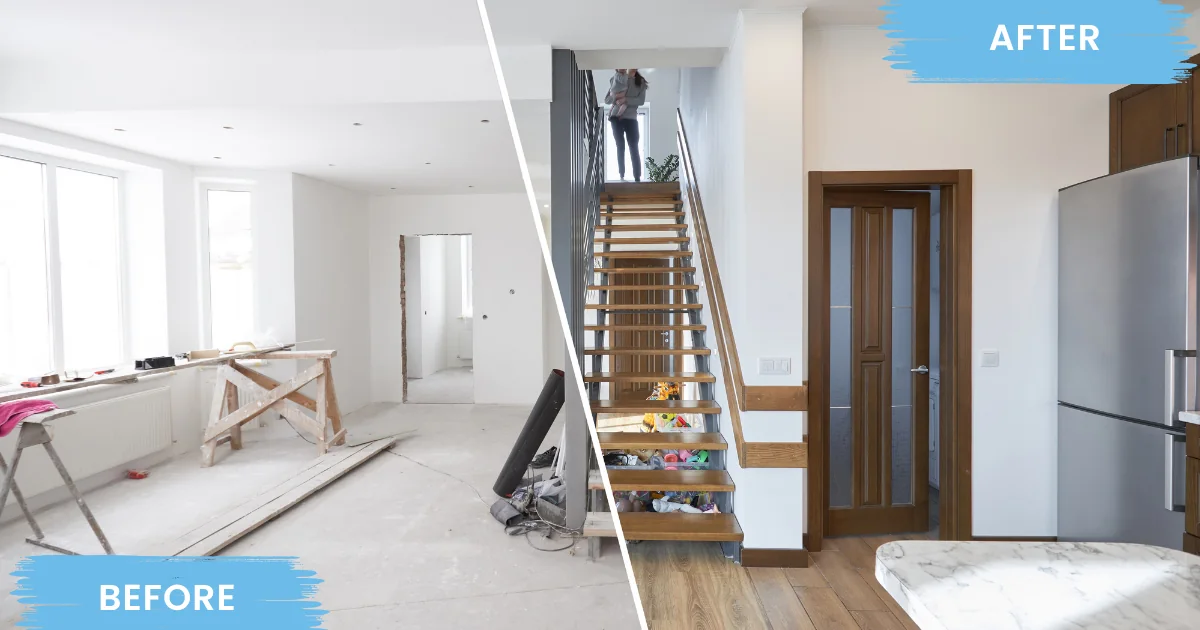
A whole-house painting project should feel like one project when it is finished—not a collection of rooms and exterior surfaces that happen to have been painted around the same time.
That kind of consistency starts well before the first drop cloth goes down.
Whole-house painting involves more surfaces, more color relationships, more preparation, and more scheduling than painting a single room. If the project includes both interior and exterior painting, weather and seasonal conditions become part of the plan too.
The quality of the final result still depends on good preparation and skilled application, of course. But many of the decisions that determine whether the job feels organized, cohesive, and manageable are made before painting begins.
Here are seven decisions worth settling early.
1. Decide What Your Whole-House Painting Project Includes
“Whole house” can mean very different things from one homeowner to another. Defining the scope first prevents surprises later.
For an interior project, the scope might include walls, ceilings, trim, doors, closets, stair halls, built-ins, and other painted surfaces. Exterior whole-house painting may involve siding, trim, shutters, doors, porch components, railings, soffits, and other architectural details.
A project can also combine interior and exterior work under one overall plan.
The areas most likely to create confusion are usually the ones that were never discussed during the initial walkthrough. Closet interiors are a common example. So are ceilings in rooms where the walls are changing color, garage interiors, unfinished basement areas, radiator covers, built-ins, porch ceilings, and the inside faces of doors.
The goal is not simply to create a long list. It is to make sure everyone is working from the same definition of “finished.”
Cabinet refinishing, wallpaper removal or installation, carpentry, and other specialty work may also be coordinated with a whole-house painting project. These services should be identified separately in the written scope because they involve different preparation and scheduling.
At A.G. Williams Painting Company, a detailed walkthrough and written scope are part of the planning process. The company’s current whole-house painting service also allows rooms, elevations, repairs, and options to be separated while remaining part of one overall project plan.
Homeowner takeaway: Ask what is included—and what is excluded—before comparing proposals. A written scope is far more useful than a room count.
2. Decide Whether to Paint the Whole House at Once or in Phases
There is no rule that says whole-house painting has to happen all at once.
For some homeowners, completing everything in one continuous project makes the most sense. It reduces the number of times a crew needs to mobilize, keeps the color and product plan together, and shortens the total period in which the house is being worked on.
This approach can be especially convenient before moving into a new home or while the house is temporarily empty.
Phasing the work can make just as much sense.
You might paint the bedrooms and second floor first, complete the main living areas later, or separate the interior from the exterior. Phasing can keep more of an occupied home available and make a large project easier to fit around family schedules.
A.G. Williams Painting Company notes that whole-house work can be phased according to rooms, elevations, seasons, access, and homeowner priorities.
The key is to avoid letting the design plan change every time a new phase begins. Before phase one starts, document the paint colors, products, sheen levels, and surfaces planned for the entire house. Keep that record with your project information.
Then phasing remains a scheduling decision rather than becoming a new design exercise every few months.
Exterior painting needs a weather plan
Exterior painting adds variables that indoor work does not have.
The surface needs to be ready for paint, and the coating needs to be applied within the manufacturer’s recommended conditions. Benjamin Moore, for example, emphasizes that exterior surfaces must be fully dry before painting. Its homeowner guidance recommends wood moisture content below 15 percent before coating.
Direct sunlight can create problems as well. Paint that dries too quickly may make it harder to maintain a wet edge and can contribute to visible lap marks. Benjamin Moore specifically identifies direct sun and excessive wind as possible causes of premature drying and lapping.
Temperature limits also depend on the particular coating being used. Some products are designed for lower-temperature application than others, so the product data—not a generic calendar rule—should determine whether conditions are suitable.
For homeowners in Westchester, Fairfield, Putnam, Rockland, Dutchess, and the surrounding New York and Connecticut region, this is one reason it can make sense to keep interior and exterior painting under the same overall plan while scheduling each portion when conditions are right.
3. Plan the Painting Sequence Around Your Household
A contractor knows how to sequence painting work. You know how your home actually functions.
Both pieces of information matter.
Which room do you work from during the day? Which bedroom needs to remain available? Is there a doorway everyone uses to reach the backyard? Does someone in the household need a quiet area at a particular time?
Share those details before the schedule is set.
A good whole-house painting sequence keeps as much of the home usable as practical. Rather than disrupting every room simultaneously, the project can move through defined areas while floors, furniture, fixtures, and nearby finishes are protected.
A.G. Williams Painting Company’s current interior painting guidance specifically notes that rooms are sequenced and occupied areas protected so homeowners can remain in the house during the work. Daily cleanup is also part of the process.
That coordination is particularly important on a multi-room project because small inconveniences multiply quickly when several parts of a house are involved.
Make a plan for pets, too
Pets deserve a place in the schedule.
Painting projects mean unfamiliar people, equipment, open doors, temporarily moved gates, and freshly painted trim at exactly the height a curious dog or cat wants to investigate.
Before work begins, decide where pets will stay during active work, which doors need special attention, and who will be responsible for moving or securing them.
A.G. Williams Painting Company’s own interior preparation guidance asks clients to make necessary arrangements for pets before painting begins.
It is a small planning step that can prevent a much larger problem.
4. Build One Whole-House Color Plan Before Painting Begins
Choosing paint for one room is relatively forgiving. Planning color for an entire house requires a wider view.
The reason is simple: rooms are rarely experienced one at a time.
You may stand in a hallway and see two bedrooms at once. From the kitchen you may see the dining room, family room, cabinetry, and trim. Stairways visually connect different floors. Open layouts may place several wall colors within the same field of view.
HGTV recommends considering how colors appear from adjoining spaces and creating a palette that flows naturally through connected rooms and hallways.
That does not mean every room has to be the same color. It means the colors should look intentional together.
One simple way to create continuity is to establish one repeating element. Often that is the trim color. Consistent trim can give the eye something familiar as wall colors change from space to space.
Next, evaluate colors by sight line rather than only by room. Look through doorways. Stand at the bottom of the stairs. View the kitchen from the family room. Those are the perspectives you will actually experience after the project is finished.
Finally, test colors in the rooms where they will be used.
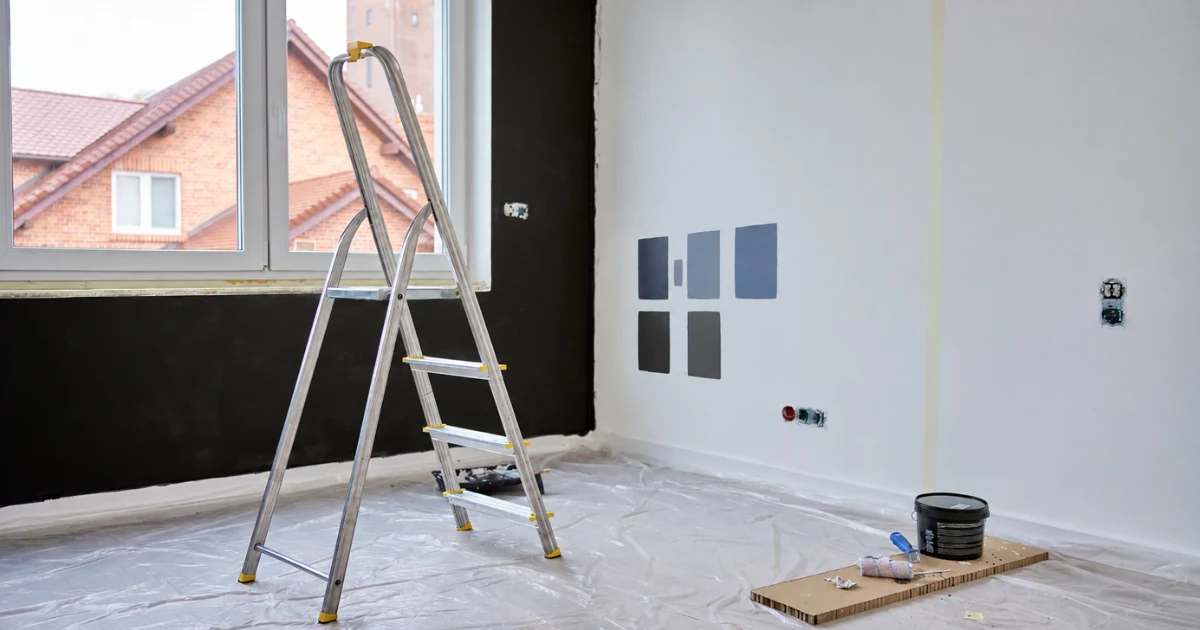
Natural light can noticeably change how a paint color appears. Benjamin Moore notes that room orientation affects both the intensity and cast of color and recommends looking at samples throughout the day and evening under natural and artificial light.
A color that works beautifully in a bright south-facing room may look very different in a dim hallway or cool north-facing bedroom.
Whole-house painting is the wrong time to rely entirely on a tiny color chip.
Homeowner takeaway: Finalize the complete palette before work begins whenever possible. Mid-project color changes can affect adjoining rooms, product orders, schedules, and work that has already been completed.
5. Choose Paint Sheen Based on the Surface and Its Use
Color gets most of the attention, but sheen has a major influence on how painted surfaces look and perform.
In general, higher-sheen finishes reflect more light and are often easier to clean, while flatter finishes reduce reflectivity and can help make minor surface imperfections less noticeable.
Sherwin-Williams recommends considering durability, surface condition, and room use when selecting a finish. Its current sheen guide suggests flatter finishes for ceilings and many lower-traffic spaces, while satin, eggshell, semi-gloss, and gloss finishes may be appropriate where washability or durability is more important. Trim, doors, and cabinetry commonly receive higher-sheen finishes.
For a whole-house painting project, consistency matters almost as much as the individual sheen choice.
Instead of making an isolated decision in every room, create standards for categories of surfaces. You might establish one primary wall finish, one trim finish, and one ceiling finish, then make exceptions only where the way a room is used calls for something different.
That keeps adjacent spaces visually consistent and simplifies future touch-ups.
It is also worth remembering that sheen makes surface condition more visible. A glossy finish on imperfect trim can highlight defects that a lower-sheen product would make less obvious. That is one more reason surface preparation and finish selection should be considered together.
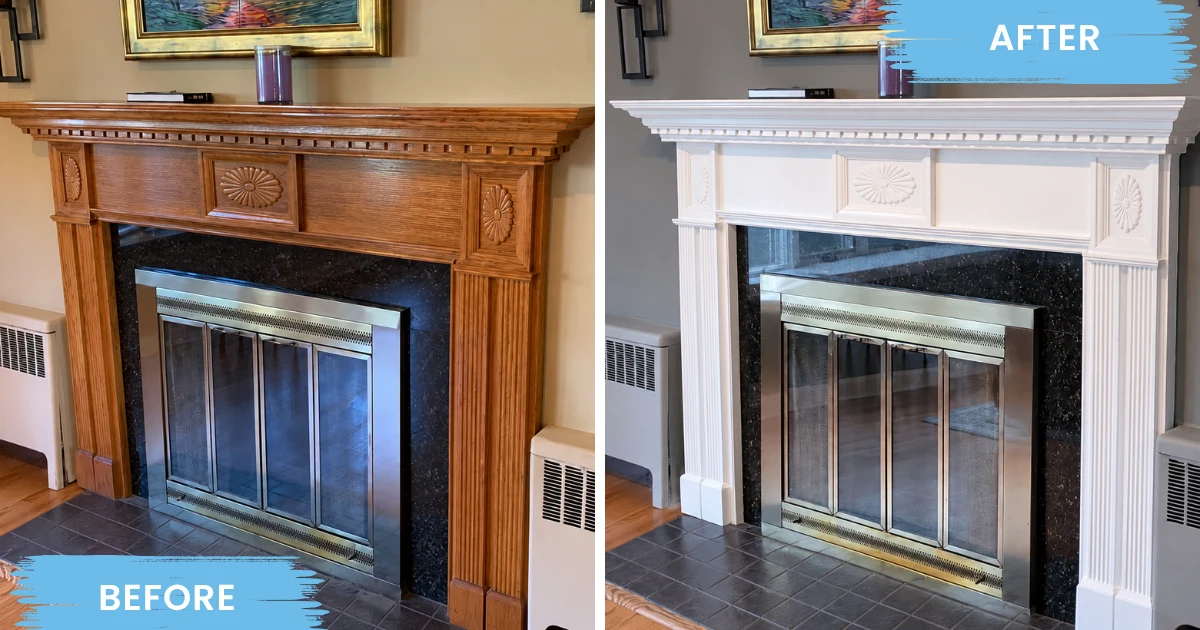
6. Decide What Needs Repair Before It Gets Painted
Fresh paint can transform a surface. It cannot make a failing surface sound.
Repair decisions should therefore happen before the finish coat is selected and scheduled.
Inside the home, that may mean addressing cracks, nail pops, damaged drywall or plaster, failed caulk, water staining, or wall damage uncovered during wallpaper removal.
Water stains deserve particular attention because the cause needs to be understood before the cosmetic damage is covered. A repaired ceiling will only fail again if the leak above it is still active.
Wallpaper also needs to be evaluated rather than automatically buried under paint. When removal is part of the plan, A.G. Williams Painting Company separates removal, wall repair, sanding, priming, and paint-ready preparation so the condition underneath can be addressed before the new finish goes on.
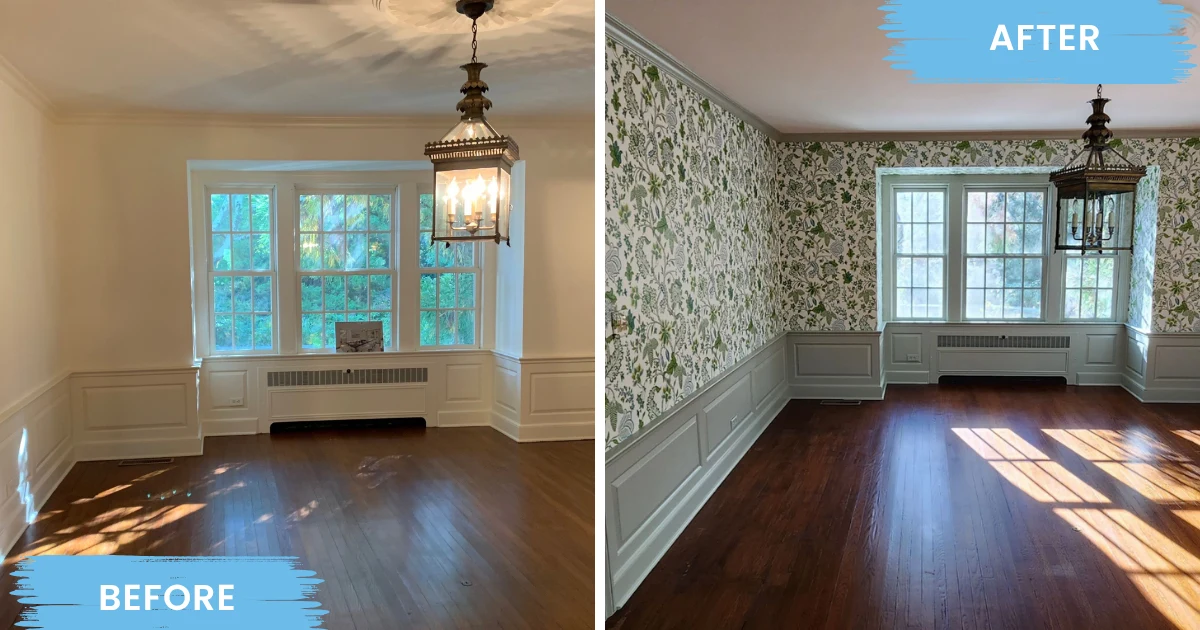
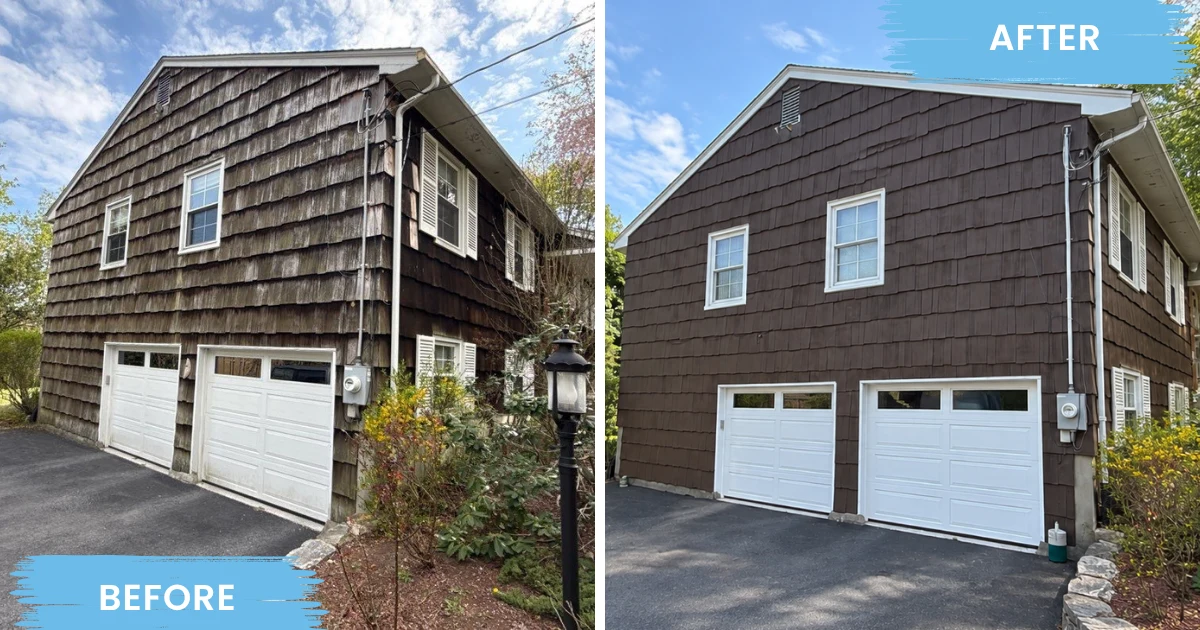
Outside, preparation may uncover failed caulk, split or rotted wood, damaged trim, deteriorated window components, or surfaces that need additional cleaning or preparation.
Benjamin Moore describes good exterior preparation with a simple principle: the substrate should be clean, dry, and dull enough for proper adhesion.
A.G. Williams Painting Company also keeps residential carpentry available as a separate scope so visible repair concerns can be identified before painting and additional damage can be reviewed if it becomes visible after material is opened up.
What about lead paint in an older home?
If your home was built before 1978, lead-safe requirements should be part of the conversation before painted surfaces are disturbed.
The EPA’s Renovation, Repair and Painting Rule generally requires firms paid to perform renovation, repair, or painting work that disturbs paint in pre-1978 housing to be certified and to follow lead-safe requirements, unless an applicable exemption has been established.
Homeowners can also check the EPA’s current consumer guidance when planning work in an older home.
A.G. Williams Painting Company is EPA Lead-Safe Certified and identifies lead-safe practices as part of its work on older homes.
If you are comparing contractors for a pre-1978 property, ask about certification and the lead-safe work practices that apply to your specific project rather than relying only on a badge or logo.
7. Define What “Finished” Means Before the Project Starts
Many disagreements at the end of a painting project begin with something that was never clearly defined at the beginning.
So establish the finish line early.
A professional closeout should include a final review of the areas included in the written scope and an opportunity to identify items that need attention. Coverage, color transitions, trim details, repairs, and touch-ups can be reviewed before the space is fully released.
A.G. Williams Painting Company describes its project process as running from a detailed walkthrough and written scope through project coordination, quality control, and a final walkthrough.
Also ask what information remains with you after the project. Knowing the final color names, products, and sheen levels makes future maintenance and touch-ups much easier.
And understand the warranty before work begins.
A.G. Williams Painting Company offers a 5-year warranty on workmanship for eligible residential painting work. The written proposal and warranty terms determine the exact surfaces, exclusions, and coverage that apply to an individual project.
That distinction matters on whole-house projects that may include painting along with carpentry, wallpaper, or other specialty work.
How Whole-House Painting Works With A.G. Williams Painting Company
A.G. Williams Painting Company has been family owned since 1906 and serves homeowners throughout Westchester, Rockland, Putnam, Dutchess, and Bronx counties in New York as well as Fairfield County, Connecticut.
A whole-house project begins with a property walkthrough so the surfaces, preparation, access, repairs, colors, and scheduling requirements can be defined before the work begins.
A.G. Williams Painting Company’s whole-house painting services can combine interior and exterior painting under one plan while separating individual rooms, elevations, repairs, and options within the written proposal.
For occupied interiors, work can be sequenced to keep the home usable, with protection of surrounding spaces and cleanup throughout the project. Crew leadership and project coordination provide consistent communication from the initial scope through the final walkthrough.
A.G. Williams Painting Company has operated since 1906, uses full-time field crews, is licensed and insured, and is EPA Lead-Safe Certified. Current residential painting work includes a 5-year warranty on workmanship, with the written warranty and proposal controlling the exact terms. Financing options are also available on qualifying residential projects.
The goal of whole-house painting is not simply to cover more square footage. It is to make dozens of individual decisions—about surfaces, colors, finishes, repairs, and scheduling—work together as one finished home.
Frequently Asked Questions About Whole-House Painting
How long does whole-house painting take?
The schedule depends on the size of the home, the surfaces included, the amount of preparation and repair required, the number of colors and finishes, accessibility, and whether exterior work is part of the project. Exterior schedules also depend on suitable weather and surface conditions. Ask for the expected sequence and timing as part of the written proposal.
Can we live in the house while it is being painted?
In many cases, yes. Interior painting can be sequenced so one area is active while other parts of the home remain usable. Discuss bedrooms, kitchens, home offices, children, pets, and other daily needs before the schedule is finalized.
Should interior and exterior painting happen at the same time?
Not necessarily. They can be planned as one whole-house painting project while being completed at different times. Exterior work is more dependent on weather and surface conditions, so completing interior work first and exterior painting during a suitable weather window can be a practical approach.
Should wallpaper be removed before painting?
It depends on the condition and type of wallcovering and the surface underneath. For a long-term finish, removal and proper wall preparation are often preferable when seams, loose areas, adhesive, multiple layers, or damaged walls are involved. A walkthrough can determine the appropriate preparation for the particular wall.
Do all paint colors need to be chosen before work starts?
Ideally, yes. Finalizing colors before the project begins helps coordinate adjoining rooms, order the correct products, establish the sequence, and reduce delays. Samples should be reviewed in the home's actual lighting before the final decision is made.
What should I ask a whole-house painting contractor before hiring?
Start with the written scope. Ask which surfaces are included, what repairs and preparation are planned, which paint products and sheen levels will be used, how occupied rooms will be sequenced, how exterior weather delays are handled, who manages the project on site, what the final walkthrough includes, and what warranty applies.
Start With a Written Whole-House Painting Plan
If you are considering a whole-house painting project, the best first step is not choosing a paint color. It is defining the scope.
Walk the property, identify the surfaces that need work, discuss repairs, establish the order of work, and create a coordinated color and finish plan. Once those decisions are documented, the painting itself becomes much more predictable.
Request a proposal from A.G. Williams Painting Company to review your home, define the scope, and build a whole-house painting plan before work begins.