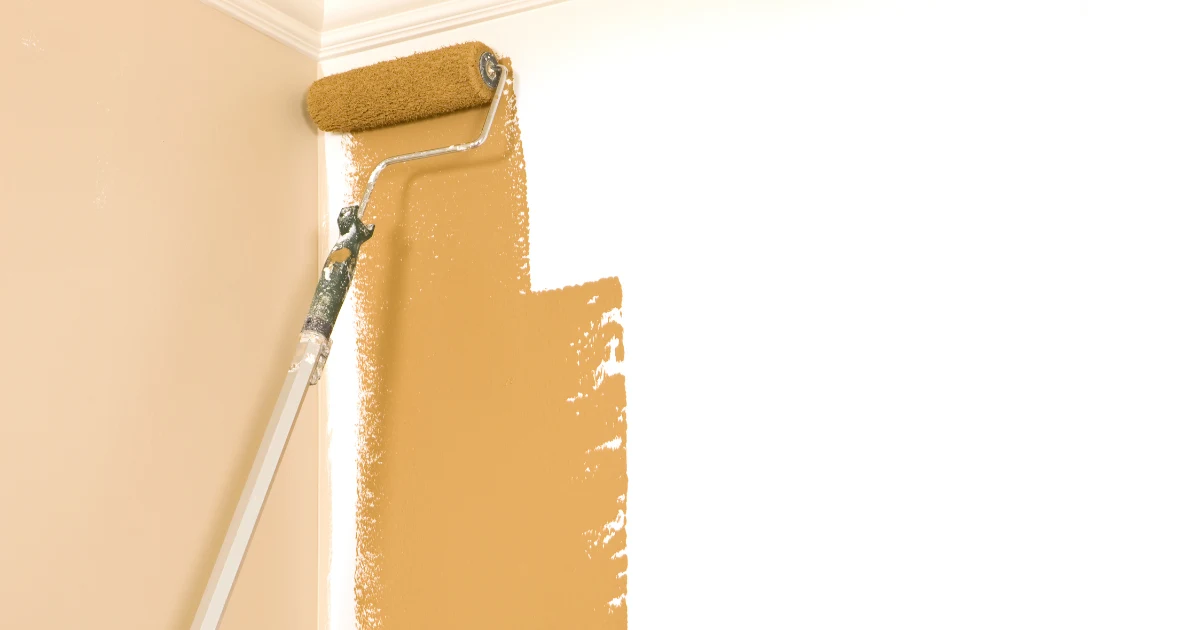
Painting walls after wallpaper removal is not quite the same as repainting an ordinary room. Once the wallpaper comes down, the wall underneath may reveal years—or even decades—of hidden adhesive, patches, drywall damage, plaster cracks, and uneven surfaces.
That is why the quality of the finished paint job depends heavily on what happens before the first finish coat goes on.
With careful cleaning, repair, sanding, and priming, however, most walls can be brought back to a smooth, attractive painted finish. The key is knowing what the wallpaper removal process has exposed and addressing each condition correctly rather than trying to hide it under paint.
Here are the seven steps that matter most when painting walls after wallpaper removal.
What Can Wallpaper Removal Leave Behind?
Before reaching for primer or paint, take a close look at the wall. Wallpaper often hides problems that were not visible when the room was papered.
Three conditions are especially common.
Wallpaper Adhesive Residue
Removing the wallpaper itself does not necessarily remove the adhesive underneath it.
Old wallpaper paste can leave a thin residue that is difficult to see when the wall is dry. In some areas, the surface may feel slightly slick or tacky when damp. Painting directly over significant adhesive residue can interfere with adhesion and may contribute to bubbling, peeling, or an uneven finish.
The goal should be to remove as much paste as reasonably possible before painting. Benjamin Moore recommends removing both the wallcovering and its adhesive, cleaning difficult adhesive spots, allowing the wall to dry completely, and priming before paint.
For homeowners tackling removal themselves, Benjamin Moore’s wallpaper-removal guide offers a helpful overview of the process.
Torn or Damaged Drywall Paper
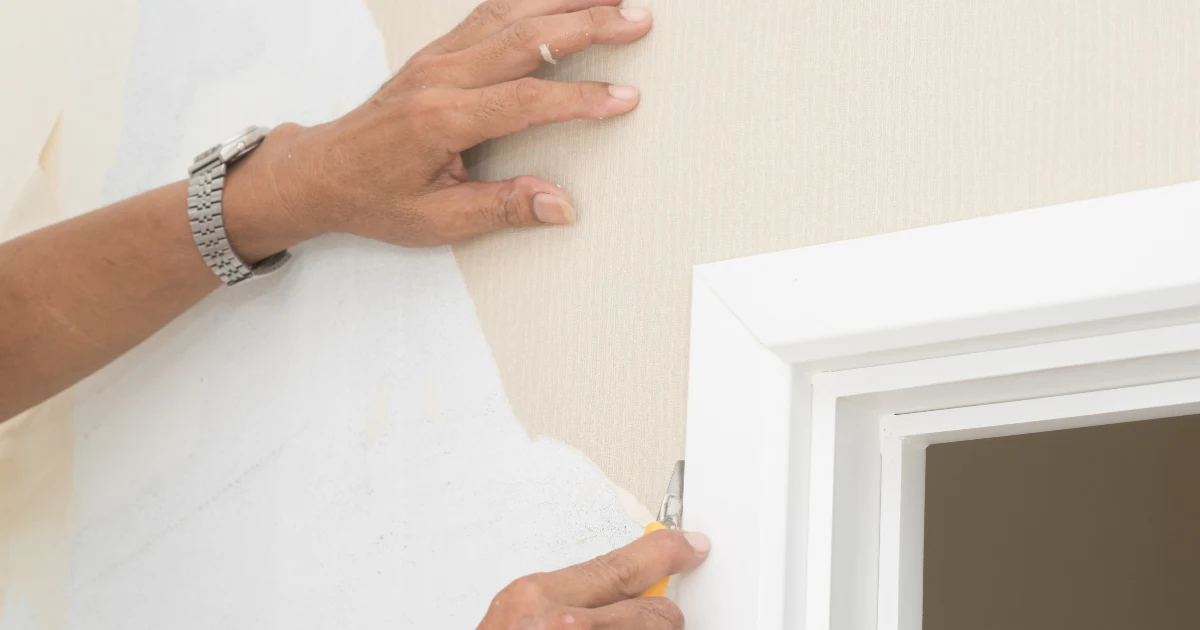
Drywall has a paper facing, and wallpaper can sometimes bond tightly to it—especially if the wall was not properly primed before the wallpaper was installed.
When the wallpaper comes off, portions of the drywall facing may come with it. You might see rough brown paper, fuzzy areas, gouges, or patches that absorb moisture differently from the rest of the wall.
These areas should not simply be covered with ordinary wall paint.
Exposed or damaged drywall paper usually needs to be stabilized with an appropriate sealer before patching or skim coating. After the repair dries, it can be sanded smooth and primed. If damage extends across much of the wall, a broader skim coat may produce a much more uniform surface than dozens of individual patches.
Cracked or Uneven Plaster
Older homes throughout Westchester County, Fairfield County, and surrounding communities often have plaster walls underneath wallpaper.
In some cases, wallpaper was installed partly to disguise hairline cracks or other imperfections. Removing it can reveal cracked plaster, older repairs, nail holes, uneven patches, or areas where the surface has begun to loosen.
Minor cracks can often be repaired as part of normal wall preparation. More significant movement or loose plaster may require additional repair before painting begins.
The important point is simple: paint is the finish, not the repair. Surface problems need to be corrected first.
Step 1: Protect the Room Before Starting
Good wall preparation can be messy, particularly when water and wallpaper remover are involved.
Floors should be covered, nearby furniture moved or protected, and trim, fixtures, switches, and outlets handled appropriately before removal and cleaning begin. Special care is important around hardwood flooring because softened wallpaper adhesive and dirty removal water can be difficult to clean once they dry.
Protection also becomes important later when sanding repaired areas. Fine dust can travel well beyond the immediate work area if the room is not properly contained and cleaned.
Professional interior painting is not only about the way the wall looks at the end. It is also about protecting the home while the work is happening.
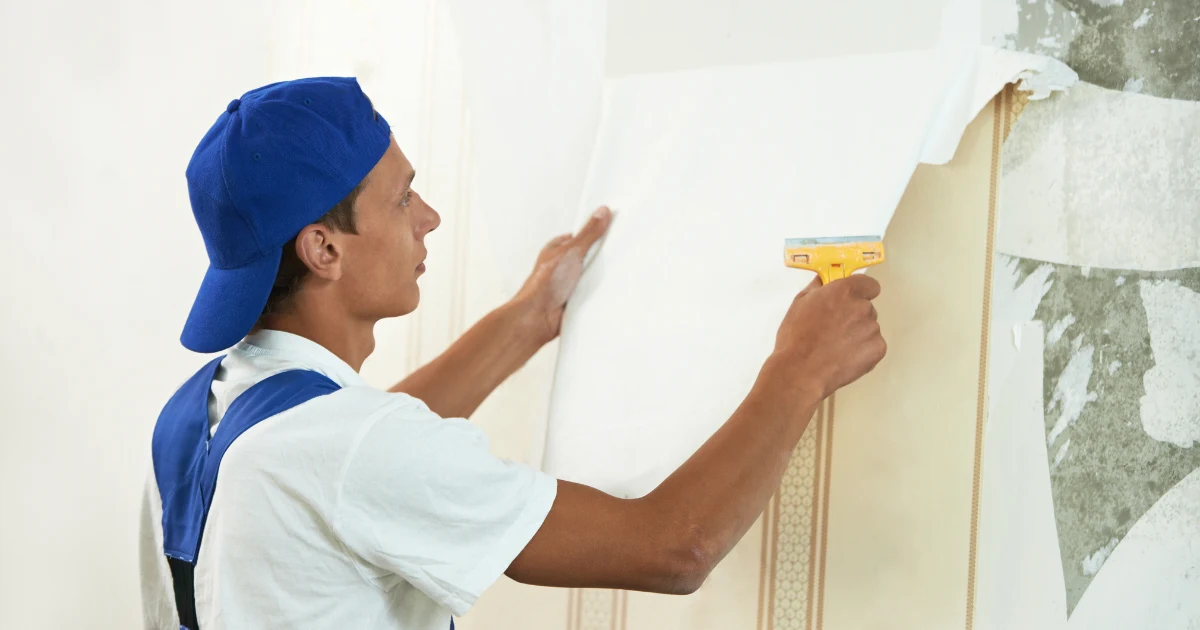
Step 2: Remove the Wallpaper Adhesive
Once the paper is down, the wall needs to be cleaned thoroughly enough to remove remaining adhesive.
Depending on the type of wallpaper and paste, warm water may be sufficient in some areas, while a wallpaper adhesive remover may be needed elsewhere. The wall should then be rinsed as appropriate so residue from the cleaning solution itself does not remain behind.
Sherwin-Williams similarly advises that walls previously covered with wallpaper should be cleaned so old adhesive is gone and allowed to dry completely before priming. You can review Sherwin-Williams’ wall-preparation guidance for additional background.
Do not assume the wall is clean simply because you cannot see paste. Run a clean, damp sponge across questionable areas. Slick or unusually tacky spots deserve another cleaning before the project moves forward.
Step 3: Give the Walls Time to Dry
Wallpaper removal puts a surprising amount of moisture into a wall.
Between stripping solution, warm water, adhesive remover, and rinsing, the surface may remain damp longer than expected. Starting repairs or applying primer before the wall has dried sufficiently can create problems that are difficult to see until later.
Drying time varies with the wall material, room temperature, humidity, ventilation, and the amount of water used during removal.
This is one reason painting walls after wallpaper removal usually takes longer than a straightforward repaint. The wall—not the calendar—should determine when it is ready for the next step.
Step 4: Repair the Damage Wallpaper Was Hiding
Once the wall is clean and dry, every defect becomes easier to evaluate.
This may include torn drywall paper, gouges from removal tools, old nail holes, cracked joint compound, drywall seams, plaster cracks, previous patches, and other uneven areas.
The correct repair depends on the condition.
Torn drywall facing may need to be sealed before patching. Small dents and holes can usually be filled and sanded. Larger damaged areas may need several repair steps. Walls with widespread surface irregularities may benefit from skim coating to create a more consistent plane.
This is also the point where expectations should be established. A wall with extensive damage requires more preparation than one where the paper releases cleanly.
With A.G. Williams Painting Company, the preparation and repair scope can be reviewed as part of the project so homeowners understand what the walls need before the finish coats are applied.
Step 5: Sand and Skim for a Smooth Surface
A repaired wall can still look uneven once light hits it from the side.
Windows, lamps, sconces, and recessed lighting can highlight ridges and depressions that seemed insignificant before painting. Higher-sheen finishes can make those imperfections even more noticeable.
That is why sanding and skim coating are so important.
Patches should transition smoothly into the surrounding wall rather than creating obvious raised areas. When damage is widespread, skim coating larger sections—or sometimes the entire wall—can create a more consistent surface.
After sanding, dust needs to be removed before primer is applied. Otherwise, primer is bonding to sanding dust rather than to the prepared wall beneath it.
This is one of the stages where professional preparation makes the biggest visual difference. A beautiful finish coat cannot compensate for a poorly prepared surface.
Step 6: Prime With the Right Product
Primer is especially important after wallpaper removal, but there is no single primer that is right for every wall.
The correct choice depends on what the removal process exposed.
Residual adhesive may call for a primer or sealer specifically suited to isolating that residue. Torn drywall facing may need to be sealed before repairs are made. Fresh joint compound and skim-coated surfaces are porous and need appropriate priming so they do not absorb finish paint unevenly. Previously painted glossy surfaces may require different preparation for reliable adhesion.
Benjamin Moore specifically notes that primer selection can depend on needs such as adhesion, sealing, porosity, and residual wallpaper adhesive.
After substantial wallpaper removal and repair, priming the entire wall is often the best way to create a uniform surface for the finish coats. Spot priming alone can sometimes leave repaired areas absorbing paint differently from the surrounding wall.
That difference can show up as flashing—areas that look duller or shinier when viewed from certain angles.
Step 7: Apply the Finish Coats
Once the surface is clean, repaired, smooth, sealed, and properly primed, the actual painting becomes much more predictable.
Quality finish coats applied evenly over a consistent surface provide better color, sheen, and durability. Edges around ceilings, corners, doors, windows, and trim should be cut cleanly so the finished room looks intentional from every angle.
The number of finish coats depends on the paint, color transition, surface, and project specifications, although two finish coats are common when homeowners want consistent coverage and appearance.
At this stage, all the preparation finally pays off. Instead of trying to make the paint hide problems, the paint is doing what it is designed to do: providing the color and finish over a sound surface.
Why Do Repaired Areas Sometimes Look Shiny or Dull?
One of the most common complaints after an improperly prepared wall is that the color looks right but the sheen looks uneven.
This often happens because different parts of the wall absorb paint at different rates.
Bare joint compound is porous. Previously painted surfaces are less porous. Damaged drywall paper behaves differently again. Adhesive residue can create yet another surface condition.
When finish paint is applied directly across all of those materials, the result may look patchy even if the color coverage appears complete.
Proper sealing and priming help create a more uniform surface so the finish coat dries consistently.
This is also why a wall can appear fine when viewed straight on but show every repair when afternoon sunlight crosses it from the side.
Choosing the Right Paint Sheen After Wallpaper Removal
The condition of the finished wall should influence sheen selection.
Flat and matte paints reflect less light, which can make small surface variations less noticeable. They are often useful for older walls where a perfectly new-looking surface would require extensive reconstruction.
Eggshell and satin finishes offer more washability and are popular in busy living spaces, hallways, kitchens, and other frequently used rooms. However, their additional reflectivity may reveal surface imperfections more readily.
As a general rule, the more sheen you choose, the more important meticulous wall preparation becomes.
Color matters too. Before making a final decision, look at large samples in the actual room. Natural daylight, lamps, floor colors, furniture, and neighboring rooms can all affect how a paint color appears.
What About Lead Paint in Older Homes?
Wallpaper removal deserves extra consideration in homes built before 1978 because painted surfaces underneath the wallpaper may contain lead.
Activities such as sanding, scraping, and other work that disturbs lead-based paint can create hazardous dust. The U.S. Environmental Protection Agency recommends that homeowners planning renovation, repair, or painting work in a pre-1978 home use lead-safe practices and, when hiring a contractor for covered work, choose a Lead-Safe Certified firm.
Homeowners can learn more through the EPA’s Renovation, Repair and Painting guidance.
A.G. Williams Painting Company is EPA Lead-Safe Certified and has experience working in older homes throughout its New York and Connecticut service areas. Let the estimator know the age of your home during the walkthrough so the project can be planned appropriately from the beginning.
Should You Paint Over Wallpaper Instead?
It may seem easier to avoid removal and simply paint over wallpaper, but that approach comes with drawbacks.
Wallpaper seams and texture can remain visible through paint. Moisture from primer or paint may also affect the wallpaper adhesive and cause sections of the covering to loosen. Future wallpaper removal can become significantly more difficult once the surface has been painted.
Benjamin Moore does not recommend painting over wallpaper, particularly when the covering is heavily textured or has a high-sheen surface.
For the best long-term result, removal and proper wall preparation are generally the better approach.
If you would rather leave the stripping and repair work to a professional, A.G. Williams Painting Company offers wallpaper removal and installation services as well as interior painting services.
What to Expect With A.G. Williams Painting Company
A successful wallpaper-to-paint project starts before anyone opens a can of paint.
A.G. Williams Painting Company begins with a walkthrough so the existing wallpaper, wall condition, access, and expected repair work can be evaluated. The project scope can then account for removal, surface repairs, priming, and painting instead of treating those steps as surprises after work begins.
For homeowners who are living in the house during the project, sequencing matters as well. Work can be organized around occupied rooms so the home remains as functional as possible, with attention paid to protection and daily cleanup.
A.G. Williams Painting Company uses professional painting crews and backs residential painting work with a 5-year warranty on workmanship.
That combination—careful preparation, clear project planning, and a finish designed to last—is especially important when wallpaper has been hiding the wall for years.
Frequently Asked Questions About Painting After Wallpaper Removal
Can I paint directly over wallpaper adhesive?
You should remove as much wallpaper adhesive as possible before painting. After cleaning and drying, any remaining surface conditions should be evaluated so the appropriate sealer or primer can be selected. Painting directly over significant adhesive residue can lead to adhesion and finish problems.
Do I have to remove wallpaper before painting?
Removal is generally the better long-term approach. Painting over wallpaper can leave visible seams or texture, and moisture from the coatings may cause the wallpaper to loosen. Major paint manufacturers such as Benjamin Moore recommend removal rather than painting over wallpaper.
What kind of primer should I use after wallpaper removal?
It depends on the wall. Residual adhesive, exposed drywall paper, skim-coated joint compound, plaster, stains, and previously glossy paint may require different primers or sealers. After extensive repairs, full-wall priming often provides a more uniform base for the finish paint.
How do I know when the walls are clean enough to paint?
The wall should be dry, smooth, and free of obvious paste or slick, tacky areas. Check questionable areas with a clean damp sponge before moving on. If adhesive is still present, continue cleaning rather than assuming primer will correct the problem.
How long should walls dry after wallpaper removal?
There is no universal drying time. Humidity, ventilation, wall material, and the amount of water used during removal all matter. The wall should be fully dry before repair materials, primer, or paint are applied.
Does every wall need a skim coat?
No. Localized damage can often be repaired individually. A broader skim coat becomes useful when torn drywall paper, old patches, or other irregularities extend across enough of the wall that spot repairs would still leave an uneven surface.
Why can I see patches through my new paint?
Visible patches are often caused by differences in surface texture or porosity. Proper sanding, sealing, and priming help create a consistent surface so repaired areas do not dry to a noticeably different sheen.
Ready to Paint After Wallpaper Removal?
Painting walls after wallpaper removal takes more preparation than a typical repaint, but that preparation is what separates a temporary cosmetic fix from a smooth finish designed to last.
The wall needs to be clean. Adhesive needs to be addressed. Damage needs to be repaired. Porous and problem surfaces need the appropriate primer or sealer. Only then is the wall truly ready for finish paint.
If you are removing wallpaper—or have already removed it and are wondering what to do with the walls underneath—schedule a walkthrough with A.G. Williams Painting Company. An experienced professional can evaluate the surface, identify the preparation it needs, and build the repairs and painting into one clear project plan.