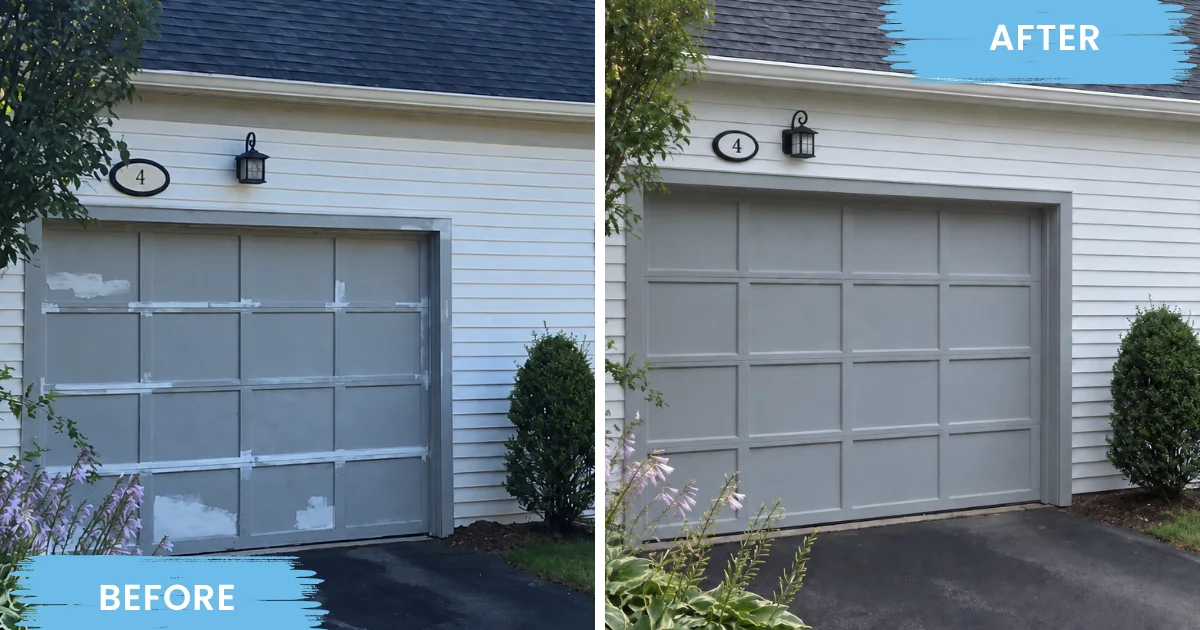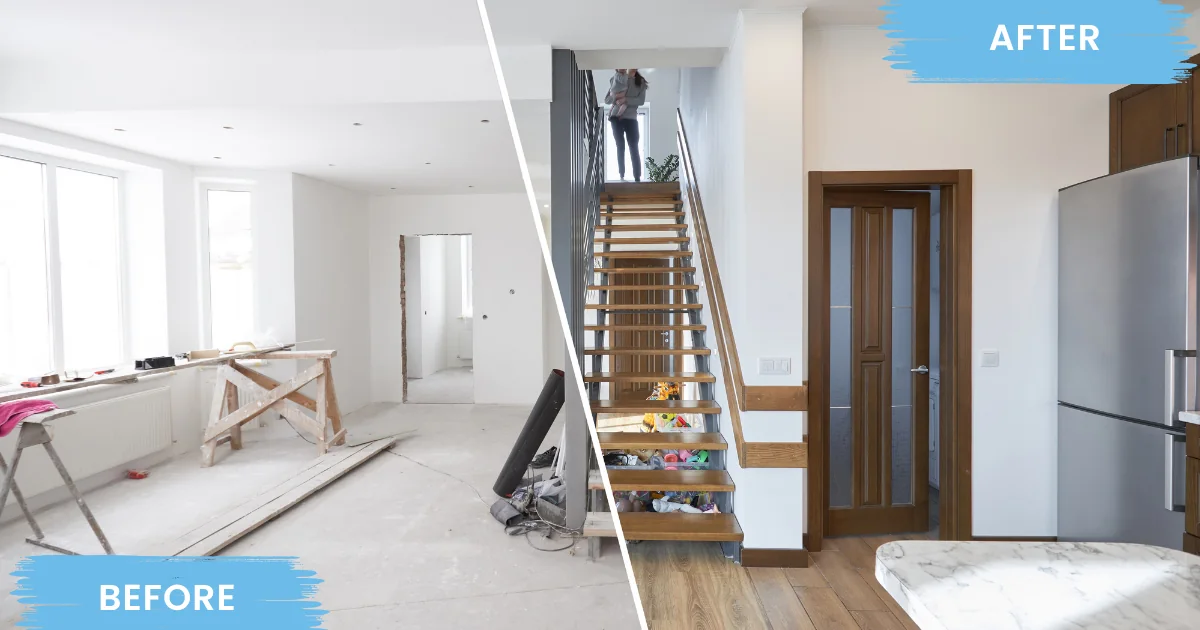
A beautiful exterior paint job starts long before the first coat of paint goes on.
In fact, some of the most important work happens before a paint can is even opened. The repairs before exterior painting often determine whether a new finish continues to look good years from now or begins peeling, blistering, or separating much sooner than expected.
Paint can protect a sound surface, but it cannot repair rotted wood, stop an active leak, secure loose trim, or correct a failed joint. Covering those problems may make a house look better temporarily, but the underlying damage is still there.
That is especially important on older homes throughout Westchester County, Fairfield County, Rockland County, Putnam County, Dutchess County, and the Bronx. Years of rain, snow, temperature changes, gutter leaks, sun exposure, and previous paint jobs can leave behind conditions that are easy to miss from the ground.
Before an exterior painting project begins, a careful walkthrough should identify those trouble spots and determine which ones need attention.
Here are seven of the most important things to check and repair first.
Why Repairs Before Exterior Painting Matter
Professional exterior preparation is about creating a surface that is clean, dry, stable, and ready to accept paint.
Benjamin Moore, for example, emphasizes the basic preparation principle of a surface being “clean, dry, dull.” Its exterior painting guidance also recommends finding and correcting the cause of peeling paint before repainting. Sherwin-Williams similarly recommends repairing damaged areas and properly preparing loose, chalky, rusted, or deteriorated surfaces before applying new coatings.
That matters because a premium exterior paint can only perform as well as the surface underneath it.
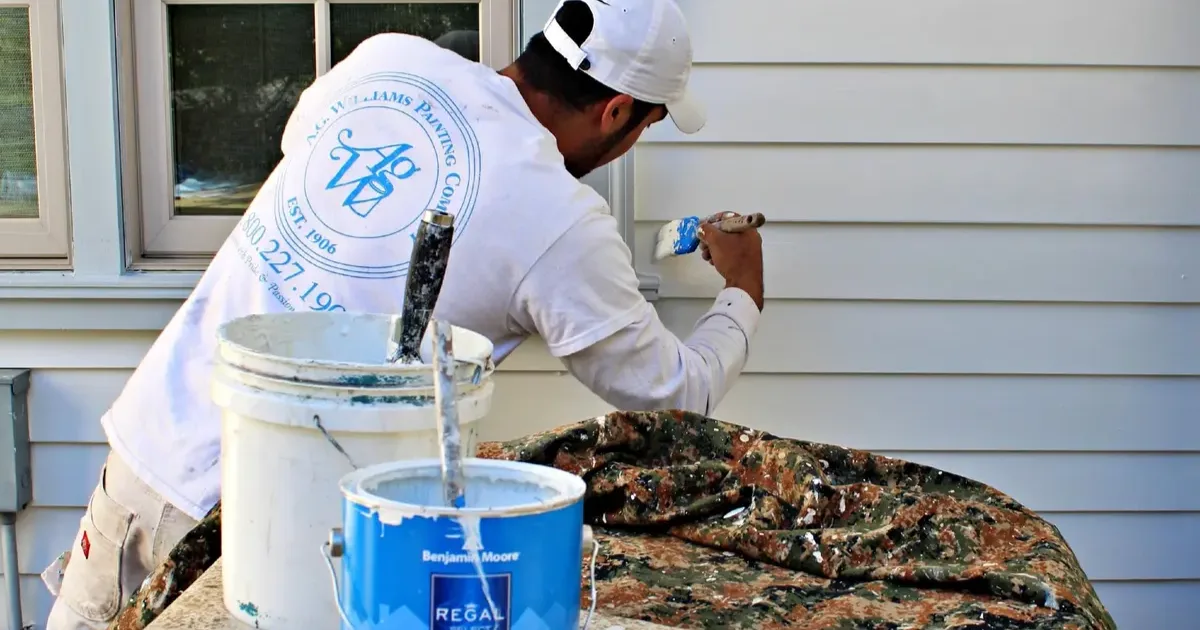
There is also a practical advantage to making repairs first. When ladders or staging are already in place and the house is being prepared, carpentry crews can reach fascia boards, window trim, corner boards, door surrounds, and upper-story details more efficiently. Making the same repair after the new paint is finished often means cutting into a newly completed surface.
Whenever possible, the right sequence is simple: inspect, repair, prepare, prime, and then paint.
1. Rotted Wood and Deteriorated Exterior Trim
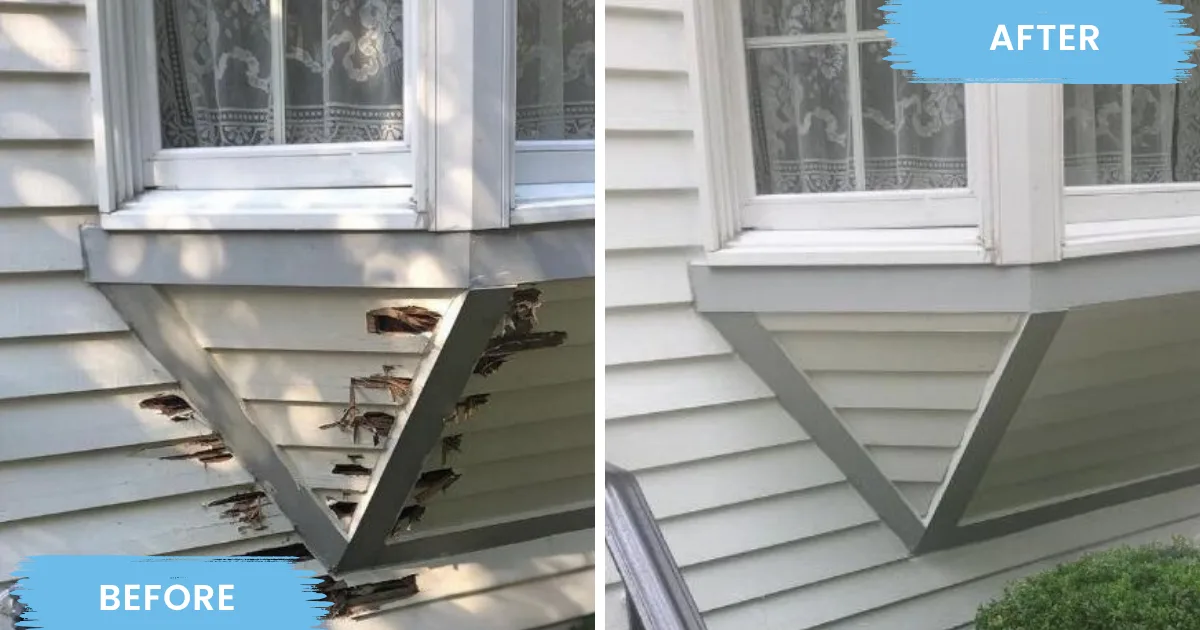
Wood rot is one of the most common repairs discovered before painting an older home.
It tends to develop where moisture repeatedly collects or enters the wood. Common trouble spots include window sills, door casings, corner boards, fascia behind gutters, porch trim, roofline details, and the bottom ends of vertical trim boards.
Some decay is obvious. Other areas may still have paint on the surface but feel soft when inspected.
Painting over rotted wood does not stop the deterioration. Eventually, the weakened surface moves, crumbles, or releases the coating applied over it.
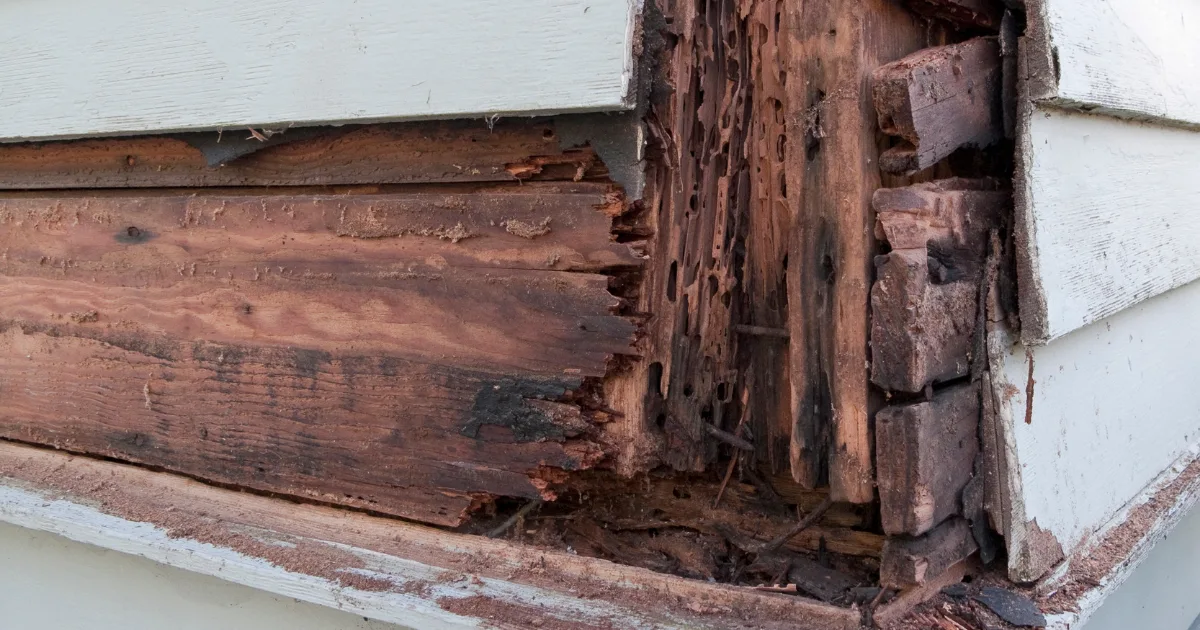
Should damaged wood be repaired or replaced?
That depends on the extent of the deterioration.
If the damage is limited and the surrounding material is still sound, a repair may be appropriate. More extensive rot, splitting, delamination, or structural deterioration may require partial or complete replacement.
The goal is not simply to make the area look smooth enough for paint. It is to leave behind a stable surface that can withstand weather after the project is finished.
A.G. Williams Painting Company can coordinate this type of work through its residential carpentry service, allowing the carpentry and painting portions of the project to be planned together.
Homeowners who want to understand the warning signs can also read A.G. Williams Painting Company’s guide to dealing with exterior wood rot.
Just as important, the repair scope should be clear before work proceeds. If additional deterioration becomes visible once preparation begins, you should understand what was discovered, what repair is recommended, and what it will cost before additional work is performed.
2. Failed Caulk and Open Joints
Caulk plays an important role in keeping water out of vulnerable exterior joints.
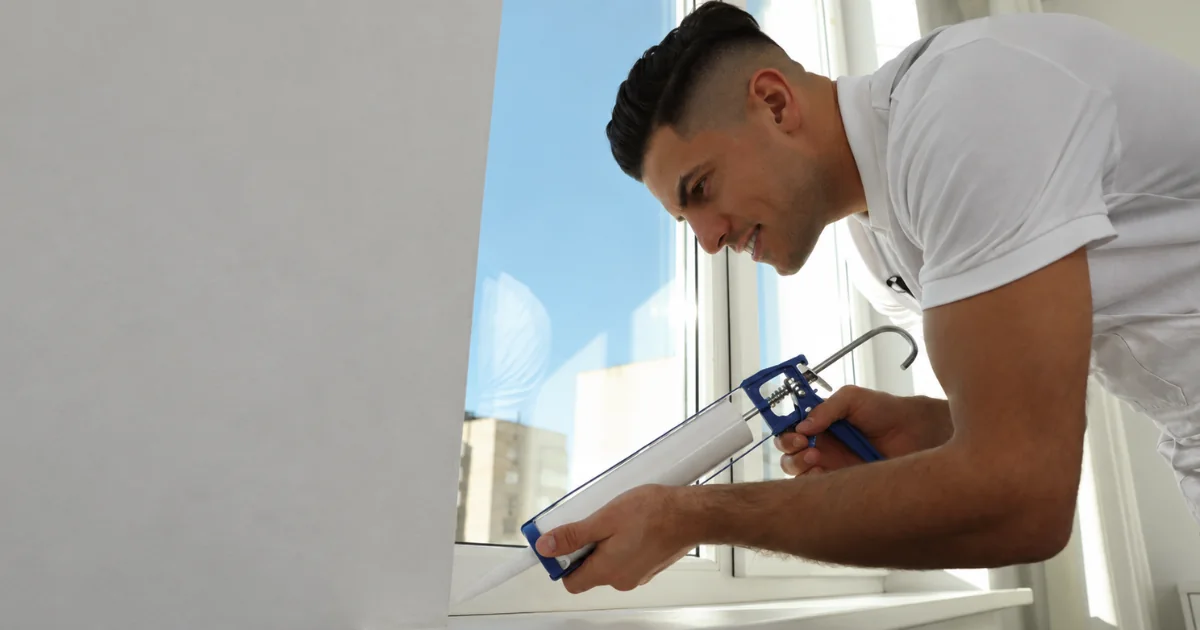
Over time, however, caulk can crack, shrink, harden, or pull away from the surfaces around it. Simply painting over those failed joints does not restore the seal.
Loose or deteriorated caulk should generally be removed and the joint properly prepared before new, paintable exterior caulk is installed.
But more caulk is not always better.
One of the most important distinctions involves siding. Sherwin-Williams specifically advises caulking appropriate butt joints while not caulking siding lap joints, because those overlaps can provide a path for moisture behind the siding to escape. Sealing them can trap moisture and contribute to peeling paint.
That is why exterior preparation requires more judgment than simply walking around the house with a caulk gun.
For a deeper explanation, see A.G. Williams Painting Company’s guide to caulking before painting.
3. Peeling or Blistering Paint—and the Moisture Behind It
Peeling paint needs to be removed, but removing it is only part of the repair.
The bigger question is: Why did the paint peel there in the first place?
If one isolated section repeatedly fails while the surrounding paint remains intact, moisture is often worth investigating.
Peeling directly below a gutter may point to an overflowing gutter or leaking seam. Damage below a window can indicate problems with the sill, glazing, trim, or flashing. Peeling around a roof-to-wall connection may indicate a flashing issue. Failure close to grade could result from splashback, drainage, or a downspout releasing water too close to the house.
A new paint film will not correct those conditions.
Loose paint still needs to be scraped and feather-sanded back to a stable edge, but the source of the moisture should be addressed as part of the preparation process.
Other surface conditions need attention too.
A chalky finish—the powder that sometimes comes off on your hand when you touch old siding—should be thoroughly cleaned before repainting. Mildew and biological growth must also be properly treated rather than simply covered.
Benjamin Moore advises that exterior substrates should be fully dry before painting and that the cause of existing peeling should be corrected during preparation.
4. Gutters, Downspouts, Roof Edges, and Flashing
Sometimes the most important repair before exterior painting is not technically a painting repair at all.
Water problems originating above the painted surface can ruin otherwise excellent preparation.
Consider a gutter seam that leaks every time it rains. The siding and trim directly underneath may receive far more water than the rest of the house. The painter can scrape, prime, and repaint that area perfectly, but unless the gutter leak is corrected, the new finish will continue facing the same problem.
During an exterior walkthrough, pay particular attention to gutters that overflow, loose or leaking gutter joints, improperly directed downspouts, deteriorated roof edges, and suspicious areas around windows and doors.
Flashing is another important part of the inspection. Problems with head flashing above windows and doors, roof-to-wall flashing, or kick-out flashing can direct water behind siding and trim rather than safely away from the building.
Rust stains should also be investigated. Sherwin-Williams notes that rust from exposed or deteriorated fasteners can bleed through a topcoat unless the metal and staining are properly addressed and primed.
Some roofing, gutter, or flashing repairs may fall outside the scope of a painting contract. That is okay. What matters is identifying the water source and correcting it before covering the evidence with fresh paint.
5. Window Glazing, Sills, and Wood Sash
Many older homes in Westchester County, the Lower Hudson Valley, the Bronx, and Fairfield County still have traditional wood windows.
Those windows deserve a close look before exterior painting begins.
Older glazing compound can dry out, crack, loosen, or fall away. Once that protective seal deteriorates, moisture can reach the wood around the glass. Sills are particularly vulnerable because they receive rain, snow, and prolonged sun exposure.
Damaged glazing may need to be removed and replaced before painting.
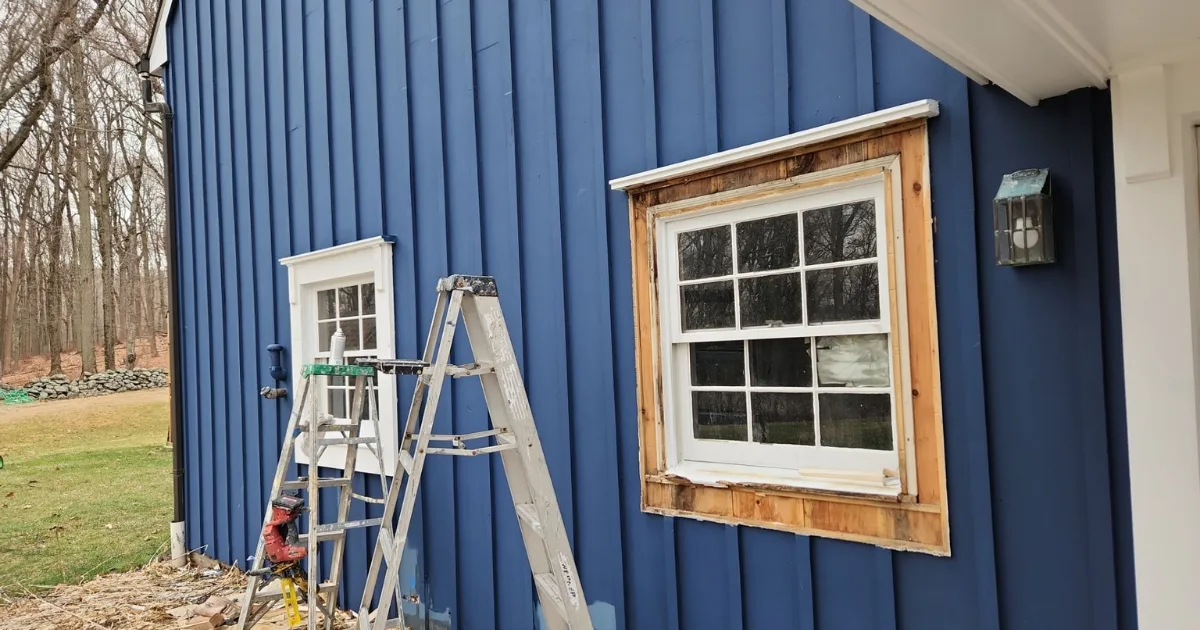
The timing matters, too. Different glazing products have different requirements for how long they should cure or develop a skin before being painted, so the manufacturer’s instructions should be followed rather than assuming every glazing compound can be coated immediately.
Window preparation should also include checking the condition of the sill, frame joints, trim, and end grain. Sherwin-Williams specifically notes that peeling problems on exterior window sills can begin on the ends and undersides that are easy to overlook.
Finding those conditions during the initial walkthrough makes it much easier to build them into the proper project sequence.
6. Stucco, Concrete, Masonry, and Chimney Cracks
Paint should not be expected to function as masonry repair.
Open cracks and failed patches in stucco, concrete, brick, or masonry should be evaluated before coating. Appropriate cracks can be opened, cleaned, patched, and allowed to cure before primer and paint are applied.
The type of cracking also matters.
A small, stable surface crack is different from a crack that is wide, repeatedly returns, shows displacement, or appears to be moving. Significant or recurring cracks may need evaluation by a qualified masonry or building professional before painting proceeds.
New cementitious surfaces also need adequate curing time. Sherwin-Williams’ general exterior surface-preparation guidance says new concrete should typically be allowed to cure before conventional coating, while also noting that certain preparation and priming approaches may allow earlier coating in some situations. Product-specific instructions should always control.
Chimneys deserve attention as well. Failed mortar joints, caps, crowns, or flashing can allow water into the structure and eventually create paint failure somewhere below.
The visible peeling may be several feet away from the actual source of the leak.
7. Siding Conditions That Require Special Attention
Not every exterior surface behaves like traditional wood siding. Knowing what material is on the house—and how it should be prepared—can prevent expensive mistakes.
Hardboard and engineered siding
Older hardboard siding can be particularly vulnerable where edges have absorbed moisture. Swollen, crumbling, or delaminated material generally cannot be made sound simply by applying filler and paint.
Edges, fasteners, joints, and damaged sections should be inspected carefully so the proper preparation and primer can be selected.
Vinyl siding
Vinyl can often be painted successfully, but color and coating selection matter.
The traditional rule has been to avoid colors significantly darker than the original vinyl because darker surfaces can absorb more heat and potentially contribute to distortion. Sherwin-Williams now notes an important exception: coatings specifically designed for use with darker vinyl colors may allow greater flexibility than that traditional rule.
Benjamin Moore likewise recommends choosing vinyl-appropriate products and colors and checking the siding manufacturer’s requirements before painting.
In other words, do not choose a dramatic new vinyl siding color based on appearance alone. Confirm that the color and coating system are appropriate for the substrate first.
Homes built before 1978
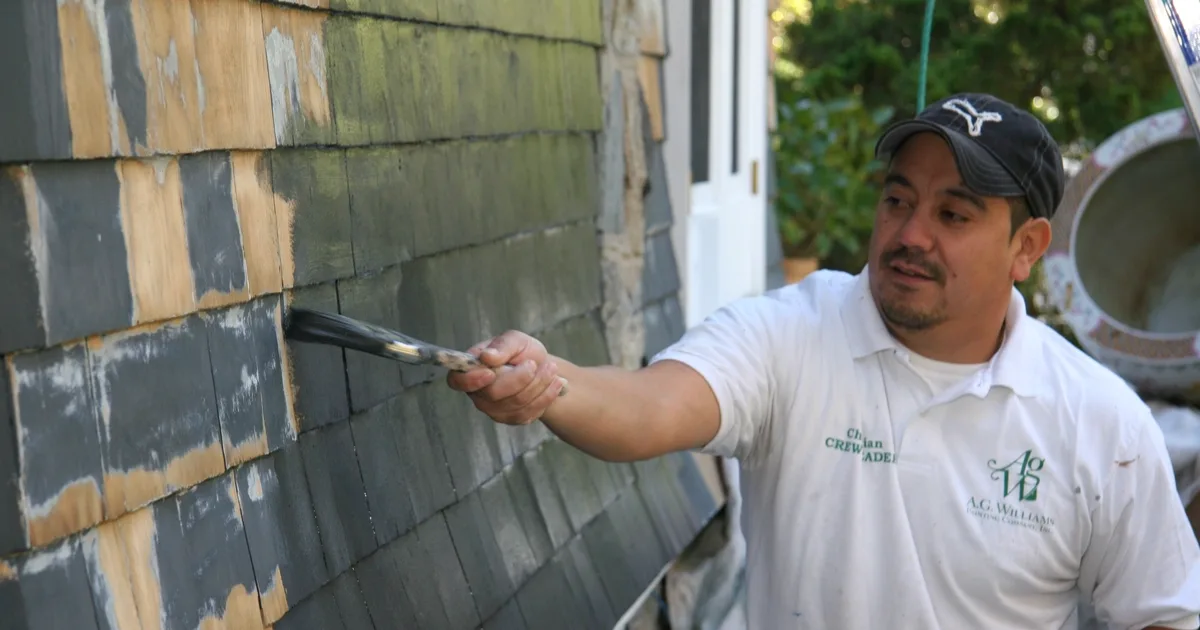
Older homes require another important consideration: lead-safe work practices.
The EPA Renovation, Repair and Painting Rule generally applies to paid renovation work that disturbs painted surfaces in pre-1978 housing, unless applicable testing or other exemptions establish that the rule does not apply. Covered firms must meet certification and lead-safe work-practice requirements.
Because scraping, sanding, carpentry, and window work can disturb old coatings, homeowners with pre-1978 houses should ask contractors how lead-safe requirements will be handled before work begins.
What Should Happen During an Exterior Painting Walkthrough?
A good exterior walkthrough is not simply about measuring the house and choosing a paint product.
It is an opportunity to understand the building.
A field supervisor from A.G. Williams Painting Company can review visible problem areas with you, identify conditions that may require repair, and explain how those repairs affect the painting process.
That conversation may include rotted trim, deteriorated caulk, peeling paint, window conditions, siding damage, moisture concerns, masonry cracks, or areas that require another trade before painting can proceed.
The goal is transparency before work begins.
A written proposal should make it clear which work is painting, which work is repair or carpentry, and which items may need to be completed by another contractor. If hidden deterioration is exposed once preparation is underway, you should have an opportunity to understand and approve additional work before it proceeds.
That approach also makes scheduling easier. Repairs can be completed in the correct order, surfaces can receive appropriate drying or curing time, and painters are not forced to undo finished work to solve a problem that should have been addressed earlier.
Frequently Asked Questions About Repairs Before Exterior Painting
Can you paint over rotted wood?
Paint should not be used to cover active wood decay. Deteriorated areas need to be repaired or replaced as appropriate so the coating is applied to a stable surface.
Does peeling exterior paint always mean there is a leak?
No. Peeling can result from several conditions, including poor previous preparation, incompatible coatings, surface contamination, or moisture. However, peeling concentrated beneath gutters, windows, roof intersections, or other water-handling components is a good reason to investigate moisture before repainting.
Will pressure washing remove peeling paint?
Washing is primarily used to remove dirt, chalk, mildew, and other contaminants. Loose or peeling coatings still require appropriate scraping, sanding, or other preparation to reach a stable surface.
Should every siding seam be caulked?
No. Some joints should be sealed while others should remain open. In particular, Sherwin-Williams advises against caulking siding lap joints because doing so can trap moisture behind the siding.
Can vinyl siding be painted a darker color?
Sometimes, but the paint system and color must be appropriate for vinyl. Some modern coatings are specifically designed to expand the range of suitable colors. Always follow both the coating manufacturer’s and siding manufacturer’s recommendations.
What happens if additional rot is discovered after work begins?
On an older house, concealed deterioration sometimes becomes visible only after loose paint, caulk, or trim is removed. The affected area should be evaluated before painting continues so you can understand the recommended repair and associated cost.
How long will exterior repairs delay painting?
It depends on the repair. Many carpentry items can fit into the normal preparation phase. Other work—including certain glazing, masonry, moisture, or specialty repairs—may require additional drying or curing time before coatings can be applied.
Fix the Cause Before You Cover the Evidence
When an exterior paint job lasts, the paint deserves some of the credit—but preparation and repair deserve just as much.
Wood rot, leaking gutters, failed caulk, open cracks, deteriorated glazing, and damaged siding should be corrected before they disappear beneath a new finish.
A careful walkthrough gives you the chance to fix the cause, define the repair scope, and place each step in the right order before exterior painting begins.
Request a proposal from A.G. Williams Painting Company to review your exterior, identify visible repair needs, and build a painting plan around a sound surface.